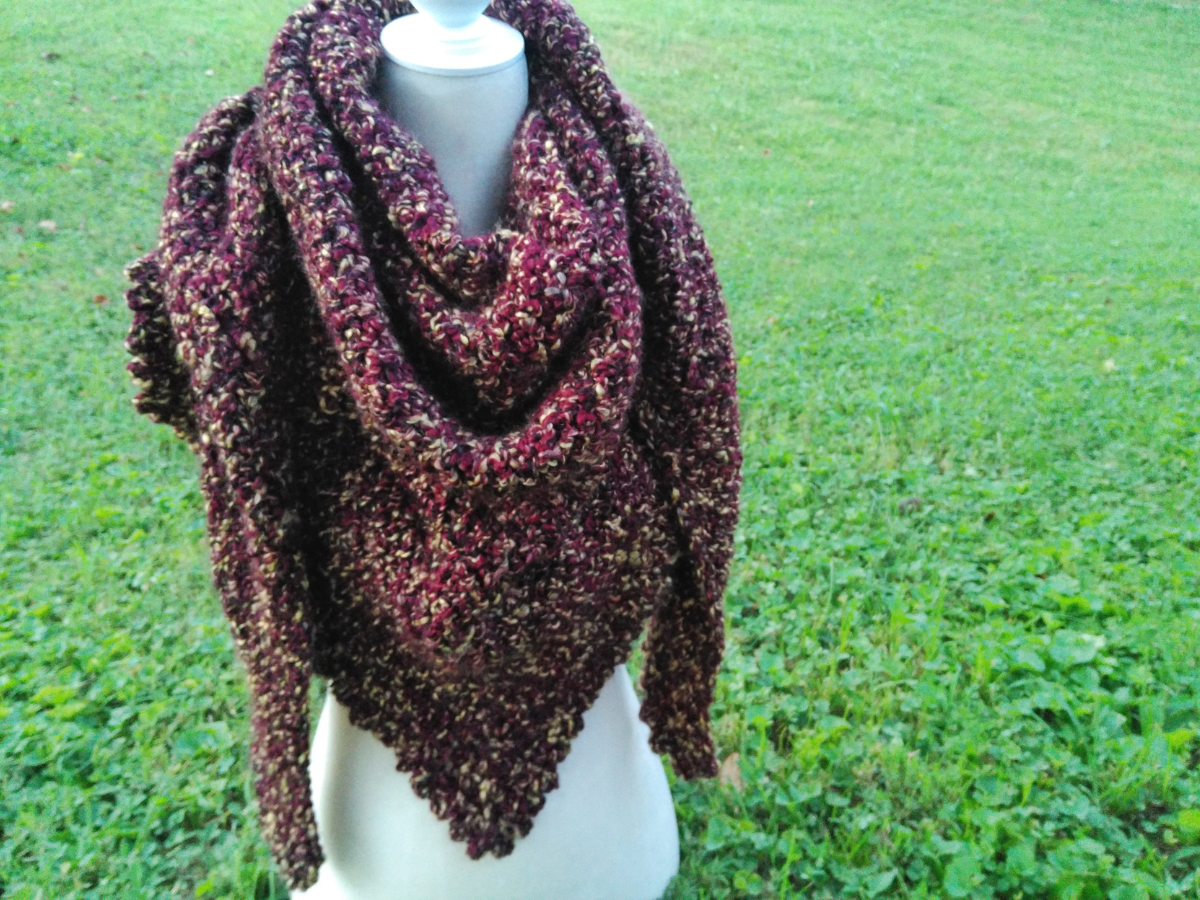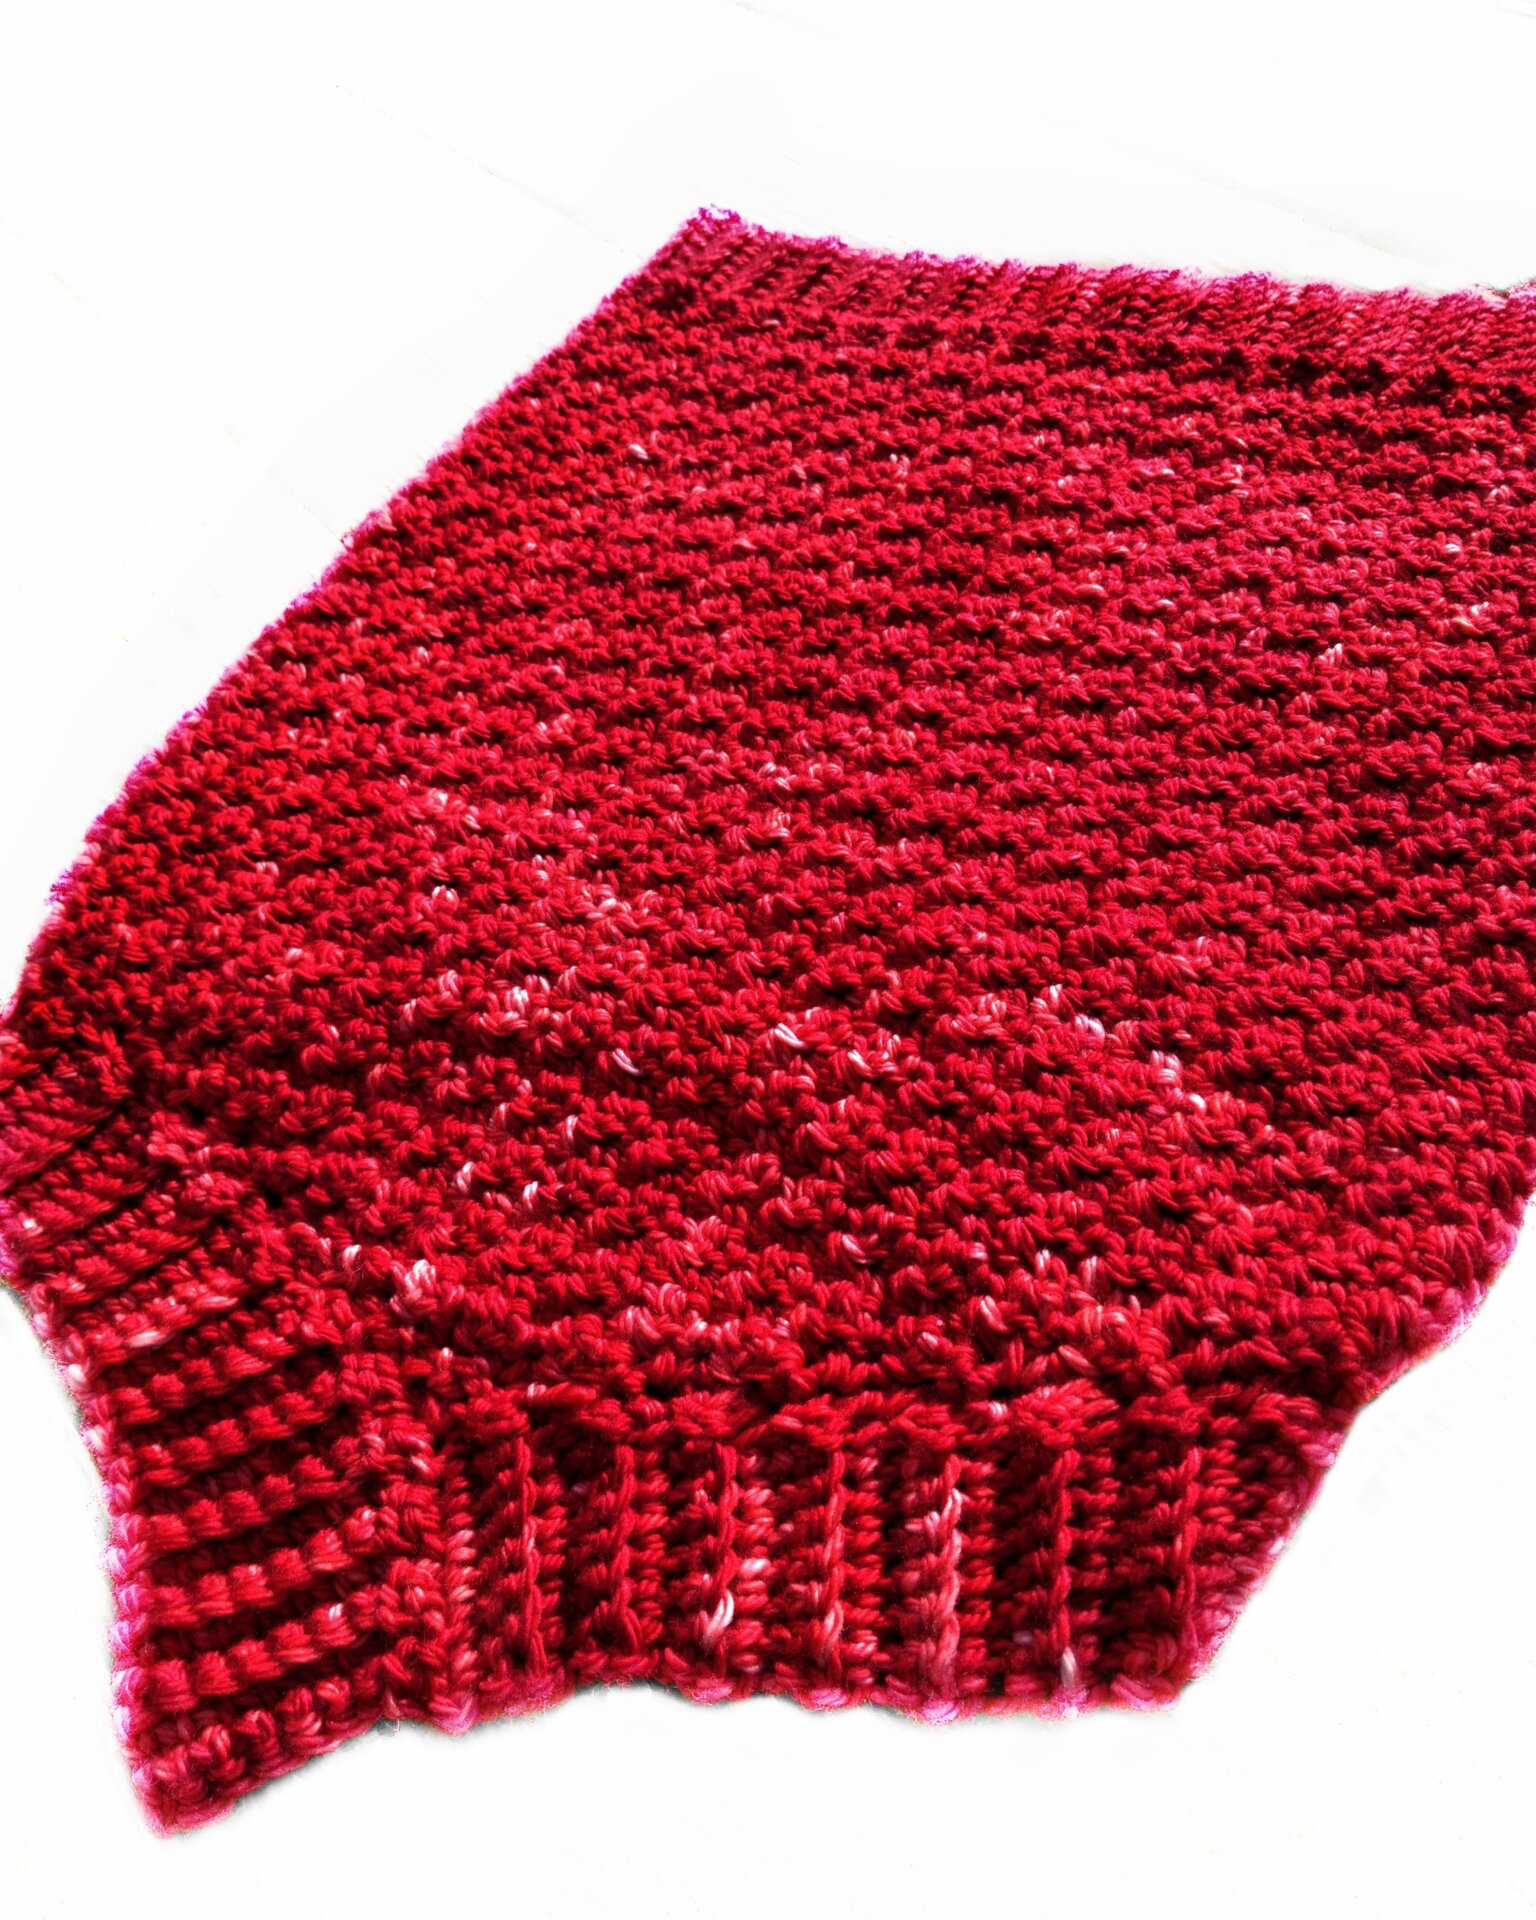
The Erythrocyte Cowl (Free Crochet Pattern)
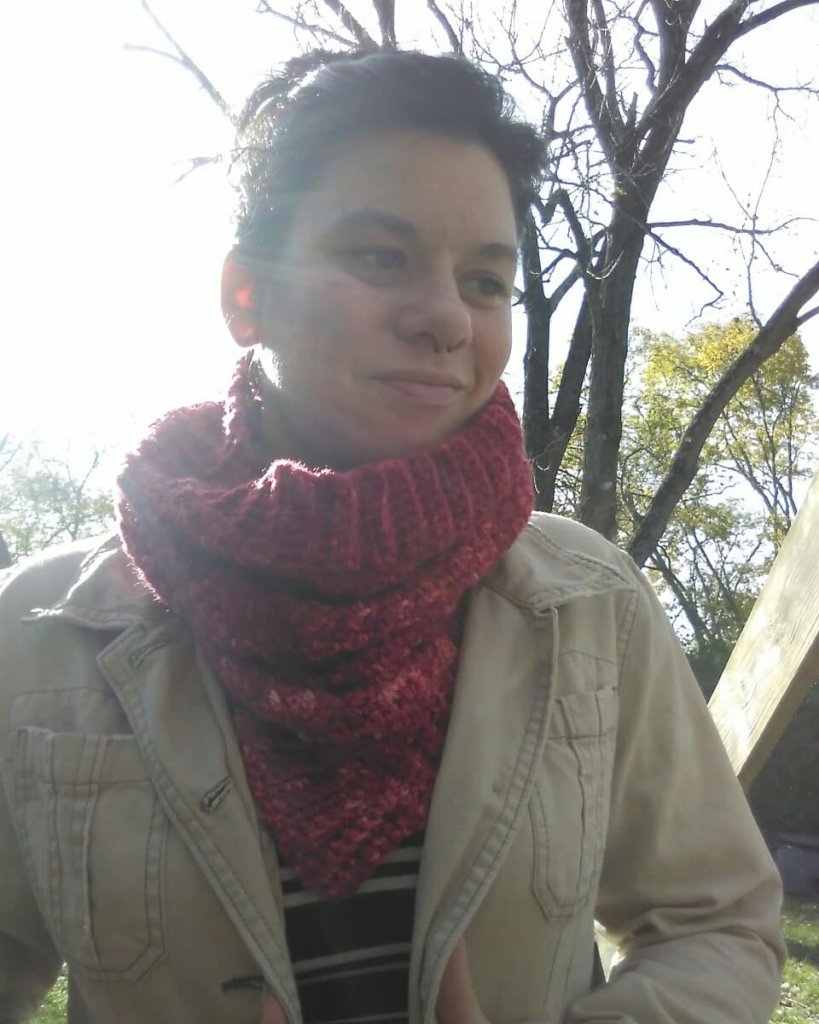
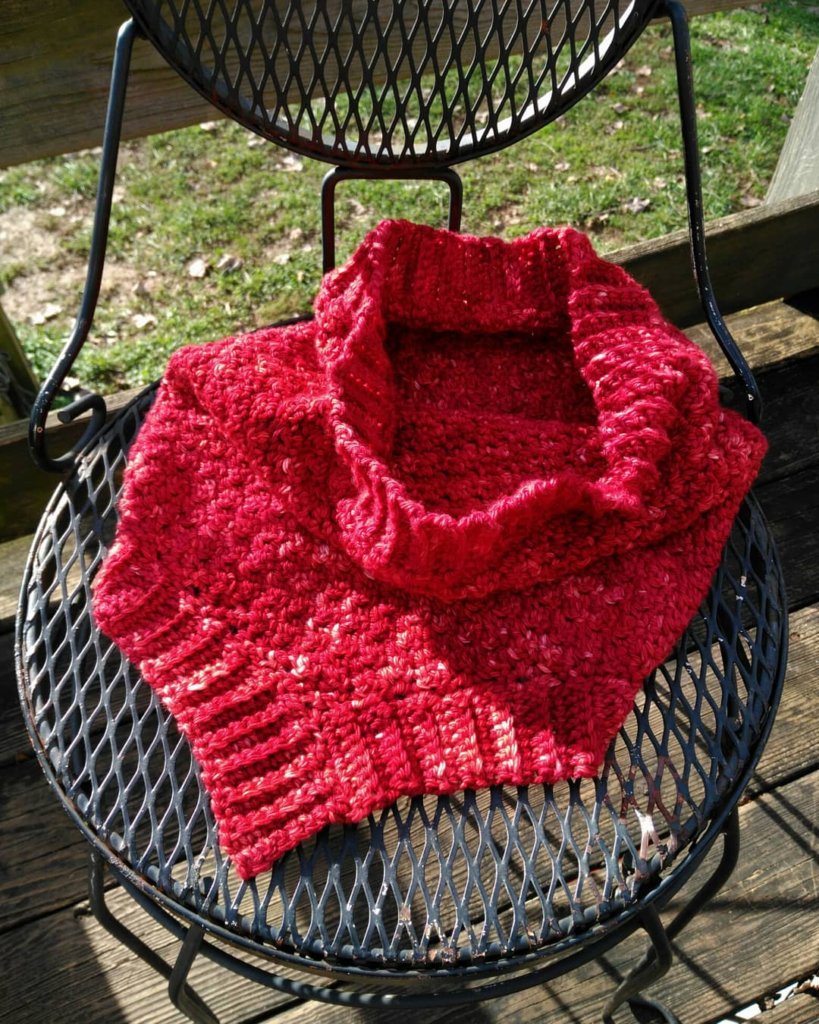
I love a good cowl, don’t you? As much as I love them though I hate that there’s a part of my chest that’s always exposed. So I fixed that with this cozy, textured cowl by adding a triangle shape at the bottom of it.
Skill Level
Intermediate
Gauge
12 sts x 11 rows of Lemon Peel Stitch (see stitch index) is 4″ x 4″ (10x10cm)
Finished Measurements
13″ wide laid flat, 18″ long from top ribbing to bottom point
Materials
2 100g hanks (approximately 360 yards) Aran weight yarn (purchase the PDF on Etsy, Ravelry, or LoveCrochet.com for a discount code for Amy’s yummy yarn!)
US Size J/10/6mm crochet hook (I use these!)
Stitch marker (I use these!)
Yarn needle for weaving in ends (I use these!)
Scissors (These Fiskars are my fav!)
Notes
-Place a stitch marker on the first stitch of each round to ensure joining in the correct stitch.
-I recommend counting your rounds as you go or placing a marker every (x) rounds to keep track of what round you’re on as it can be difficult to count rows with this textured stitch.
-* * indicates a repeat
-(#) at the end of the row/round indicates how many total stitches for that row/round
Stitch Index
ch-chain
st(s)-stitch(es)
R-row/round
PM-place marker
sl st-slip stitch
sc-single crochet
scBLO-single crochet in the back loop only
sc2tog-single crochet 2 stitches together
dc-double crochet
dc2tog-double crochet 2 stitches together
Special Stitches: The Lemon Peel Stitch is made by alternating sc’s and dc’s on the first row and placing dc’s in sc’s and sc’s in dc’s in subsequent rows creating a textured fabric; always ch 1 (never 2) at the beg of rows/rounds
Pattern
Top ribbing
Foundation: Ch 8
R1 sc in 2nd ch from hook and each ch across, ch 1, turn (7)
R2-79 scBLO in each st across, ch 1, turn (7)
R80 folding each end together to join into a continuous round, sl st loosely through all 4 loops of first and last rows of ribbing to join, ch 1, turn to work on the RS (the seam should be facing the inside of your work)
Body
R1 [PM in first st of each round here and throughout body] *sc, dc* around placing one stitch on the end of each row of ribbing (seam counts as a row), join with a sl st to 1st sc of round, ch 1, turn (80)
R2-23 * sc in dc, dc in sc* around, join with a sl st to beg sc of round, ch 1, turn (80)
R24 sc2tog, dc2tog, *sc, dc* until 4 sts remain, sc2tog, dc2tog, do not join here and throughout, ch 1, turn (76)
R25-41 repeat R24 until you have 8 sts remaining (dec by 4 sts per row)
R42 *sc2tog, dc2tog* across (4)
R43 sc2tog, dc2tog (2)
R44 sc2tog (1), do not ch, do not turn, do not finish off
Bottom ribbing
Foundation: ch 8
Sc in the back bump of the 2nd ch from hook and next 6 chs (7sc), with RS facing sl st into the base of your foundation chs, sl st into the end of the next unworked row of the body, ch 1, turn, *scBLO of previous sc’s made, ch 1, turn, scBLO, sl st into the next 2 unworked rows of the body, ch 1, turn* repeat from * to * around the entire unworked base of the body until you reach the beginning of the ribbing, scBLO to the base of body, sl st into the top of the last sc2tog made at the point of the body, sl st into the base of the first ch made of the beginning of ribbing, *ch 1, turn, scBLO of previous sc’s made, ch 1, turn, sl st in next 2 unworked ch’s of beginning of ribbing, ch 1, turn, scBLO 7* repeat from * to * until all foundation ch’s have been worked, you should end on the outside of the ribbing, at the very outermost point of your piece.
Finish off and weave in ends!
If you make something inspired by my blog I would love to see pictures! Tag me in your photos @YarniqueBlog and use #yarnique.
Happy making friend!
