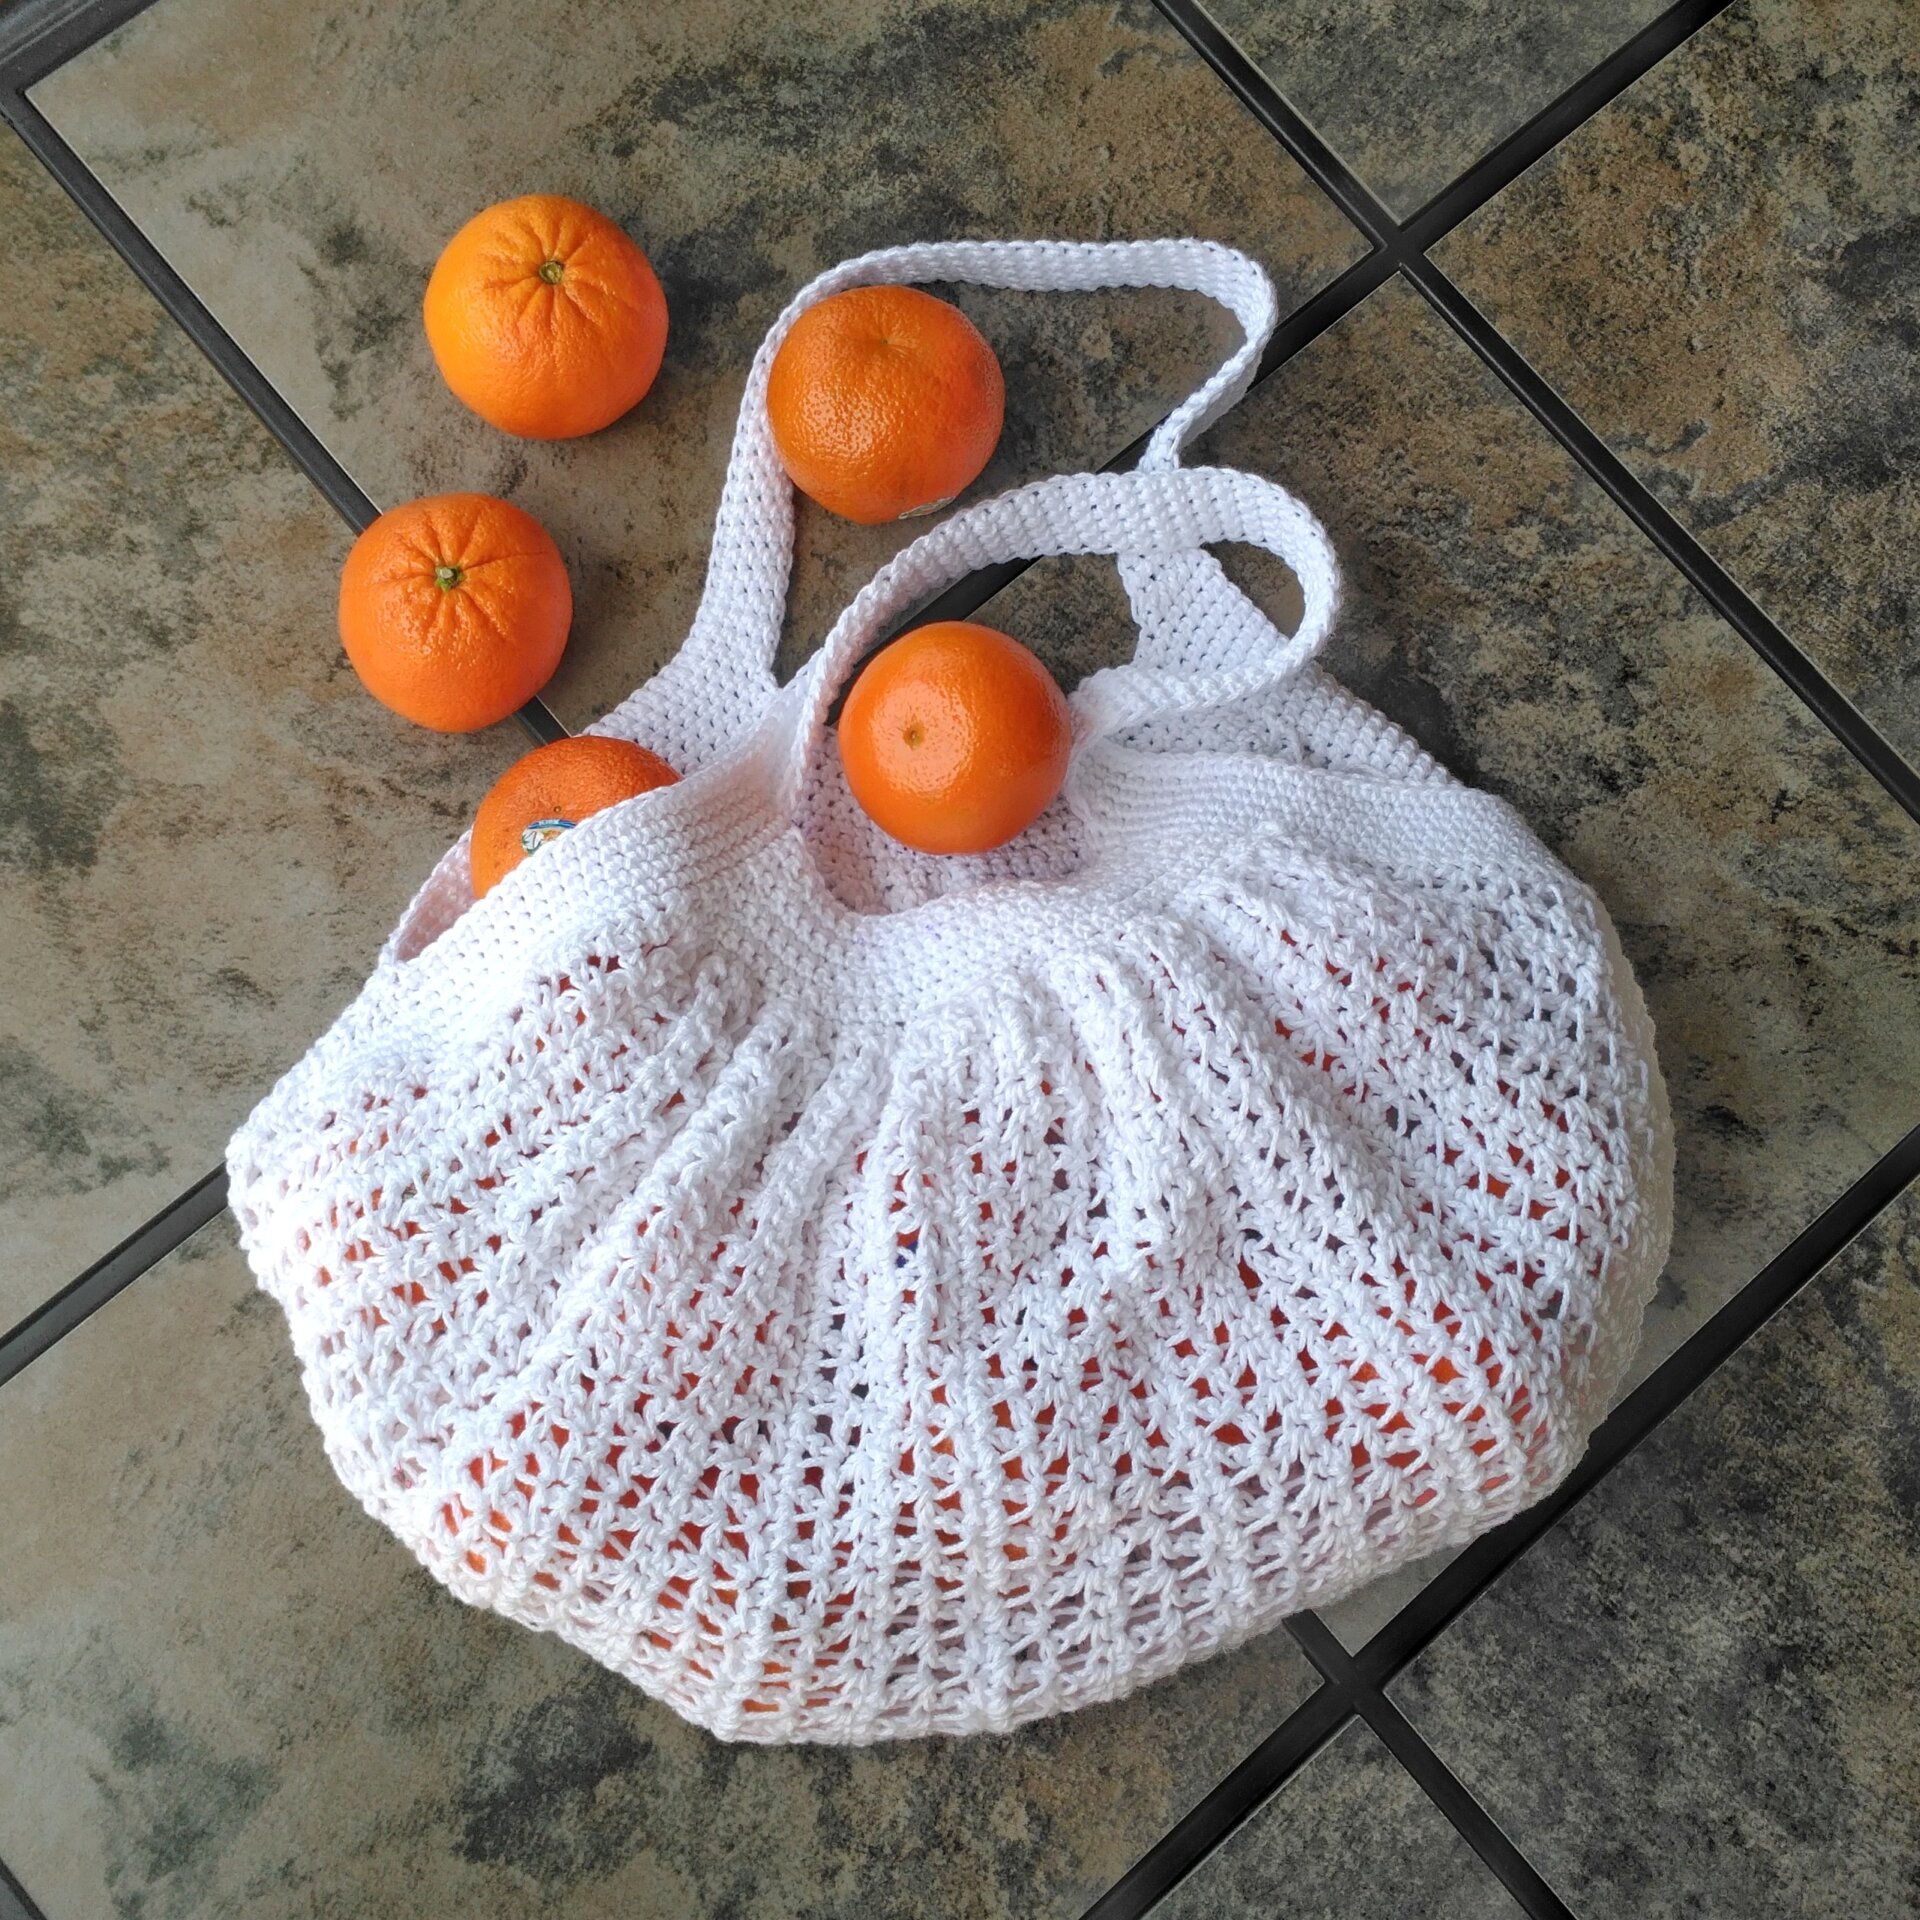
The Everygirl Bag (Free Crochet Market Bag Pattern)
This page contains affiliate links which means if you purchase through any of them I receive a small commission at no extra cost to you. Thank you for supporting my small business! Find my full disclosure policy here.
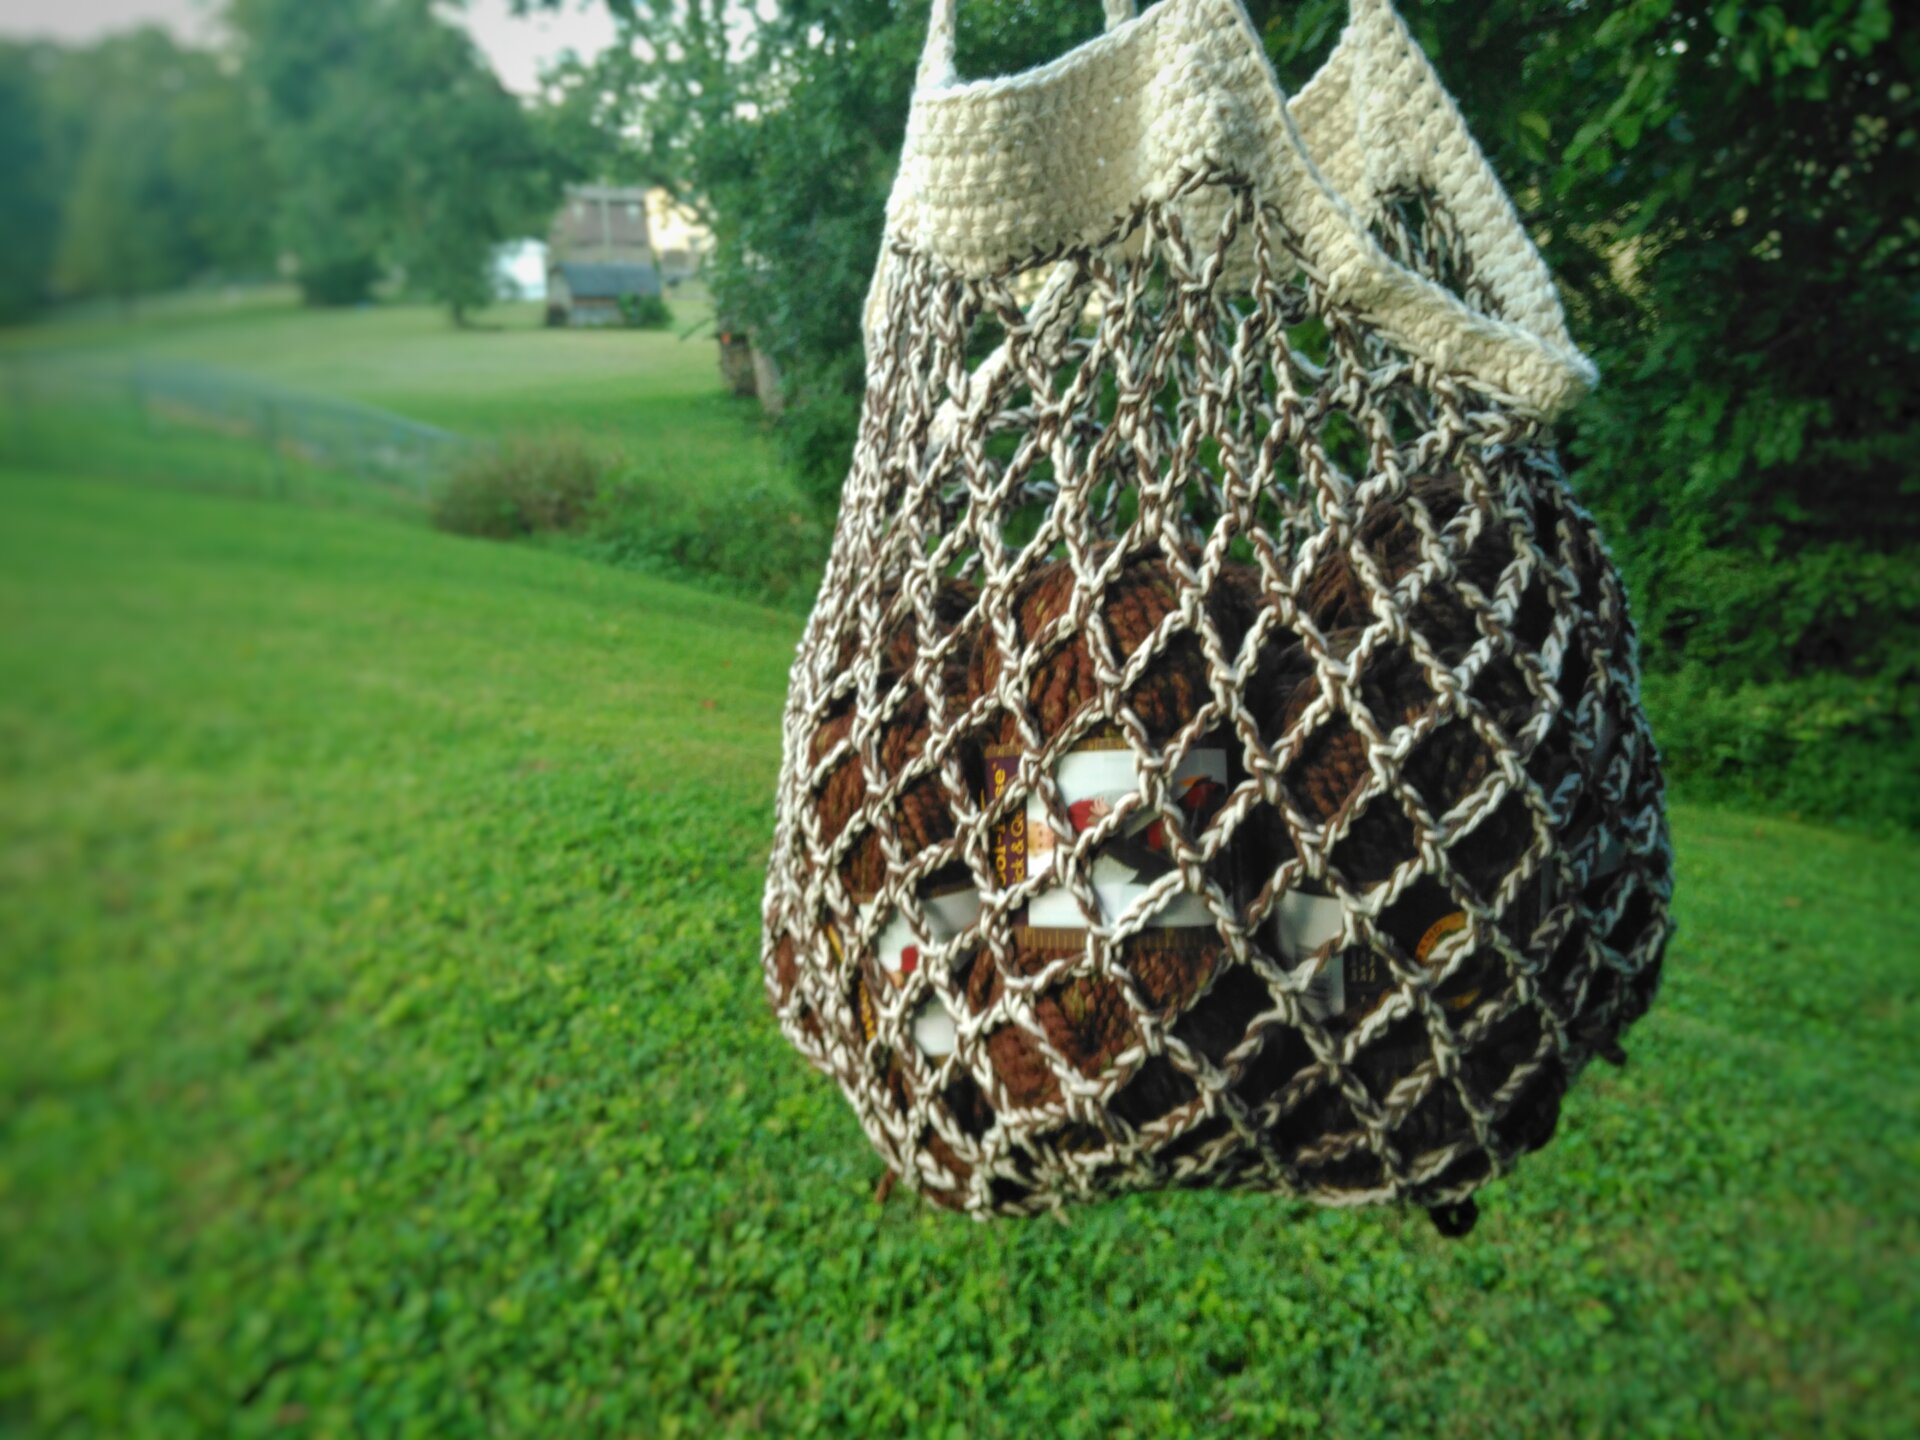
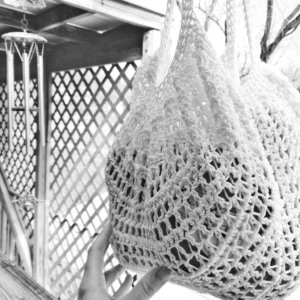
I might be biased, but I think this market bag crochet pattern is the perfect little bag! This free crochet bag pattern features mesh throughout the body without being too ‘meshy’ like others can be. The stitch pattern uses a combination of rows of extended single crochet stitches and single crochet stitches. The extended single crochet rows are what give it the mesh look and the single crochet rows give a bit of stability so as not to overstretch or let anything fall through.
Scroll to see the free version of this pattern or get an affordable, easy to read, and ad-free printable PDF on Ravelry, Etsy, or LoveCrafts!

Usage and Techniques Used
This reusable market bag crochet pattern is perfect for taking to the market for fresh produce, those summery beach days, or just as an everyday bag! The unique construction makes it fun to work up. First, you’ll create a mesh hexagon panel and then the border and handles are worked around the edges, making strategic decreases to get the bag shape. The mesh works up very quickly, as well. It’s made using a combination of single crochet stitch rows and extended single crochet stitch rows.
About The Yarn
I used Lion Brand Yarn 24/7 Cotton yarn for my bag, but you can use any worsted weight cotton yarn you like as gauge is not very important for this project. I highly recommend cotton yarn or another natural fiber yarn versus acrylic yarn. Cotton yarn gives more stability and will hold up better over time.
I have included my gauge and finished measurements below for reference. A few other cotton yarns I would recommend for this project are:
- Premier Rodeo
- Lily Sugar N’ Cream
- Bernat Handicrafter Cotton
Looking for more free crochet bags patterns?
- Not Your Granny’s Beach Bag – This free crochet pattern is made starting with a solid granny square and features some lacy chevron rows in the body, cotton rope handles, and metal studs for an added finishing flair.
- Margot Market Bag – If you love free crochet market bag patterns, you’ll love this easy bag pattern that uses only basic crochet stitches and works up very quickly.
- Seamless Bento Bag – This easy crochet market bag pattern has the shape of a bento bag but is created in one piece in the round and without the seaming.
Skill Level
Intermediate
Gauge
16 sts and 16 rows of sc with a 4mm hook is 4″ x 4″ (10x10cm)
Finished Measurements
Laid flat and before any stretching:
18” (46cm) at the widest point
12” (30cm) from the base of the handles towards the top of the bag to the bottom of the bag
Materials
2 balls Lion Brand Yarn 24/7 Cotton
OR
360 yards/195g any worsted weight yarn (see above for other yarn recommendations)
US Size G/6/4mm crochet hook
US Size J/10/6mm crochet hook
Tapestry needle for weaving in ends
2 stitch markers
Scissors
Notes
– When working an extended single crochet (esc) into a previous esc, you should work the st into the wide open space of the previous esc.
– I use invisible decreases throughout the pattern unless specified otherwise.
– * * indicates a repeat
– (xx) at the end of a row or round indicates how many total stitches for that row or round
Stitch Index
R – row/round
RS – right side
WS – wrong side
ch – chain
ch-sp – chain space
st(s) – stitch(es)
sk – skip
PM – place marker
fsc – foundation single crochet
sl st – slip stitch
sc – single crochet
sc2tog – single crochet 2 stitches together
sc3tog – single crochet 3 stitches together
esc – extended single crochet (insert hook in indicated stitch, yarn over, pull through loop [2 loops on hook], yarn over, pull through 1 loop [2 loops on hook], yarn over, pull through 2 loops [esc made])
hdc – half double crochet

Pattern
Foundation/R1 (with 4mm hook) fsc 51, switch to 6mm hook after the last st is complete and before you ch 3 (counts as esc and ch 1), turn (51)
R2 sk 1st and 2nd sts, *esc in next st, ch 1, sk 1* until 2 sts remain, esc in last st, ch 3, turn
R3 sk 1st esc and 1st ch-sp, *esc in next esc, ch 1, sk 1* until all previous esc sts are worked, esc in 2nd ch of the turning ch 3 from the previous row, ch 1, turn
R4 sc in 1st esc, 2sc in 1st ch-sp (inc), sc in each esc and each ch-sp until 1 ch-sp and the turning ch 3 is left, 2sc in ch-sp (inc), sc in the 2nd ch of the turning ch 3 from the previous row, ch 3, turn (53)
R5-28 repeat R2-4 (69)
R29-30 repeat R2-3 once more
R31 sc in 1st esc, sc in 2nd esc (dec), sc in each ch-sp and esc across, sk last ch-sp (turning ch 3 from the previous row) (dec), sc in 2nd ch of the turning ch 3 from the previous row, ch 3, turn (67)
R32 sk 1st and 2nd sts, *esc in next st, ch 1, sk 1* until 2 sts remain, esc in last st, ch 3, turn
R33 sk 1st esc and 1st ch-sp, *esc in next esc, ch 1, sk 1* until all previous esc sts are worked, esc in 2nd ch of the turning ch 3 from the previous row, ch 1, turn
R34-55 repeat R31-33 ending on a sc row (51)
R56-57 repeat R32-33 once more
R58 switch to 4mm hook after the ch 1, hdc in 1st esc, hdc in each ch-sp and esc across, hdc in 2nd ch of the turning ch 3 from the previous row, ch 1 (51)
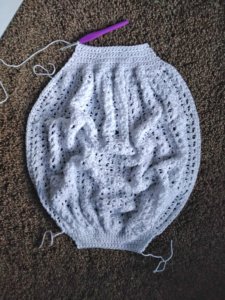
You should now have a panel shaped like a hexagon as seen in the photo below.
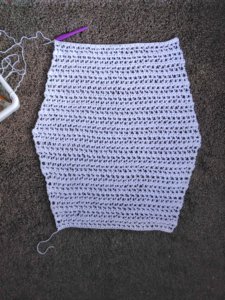
At this point, my hexagon measures 20″ (51cm) at the widest point and 21″ (53cm) long from the beginning foundation row to the last worked row. It is stretched slightly to lay flat.
Building the End Panels
Turn your work 90° to work into the raw edge of your hexagon as seen in the photo below:
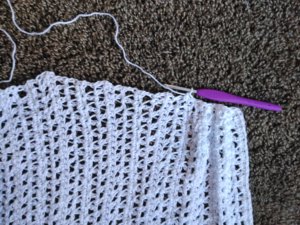
R1 (WS) sc into the end of the hdc row, *sc2tog over 2 esc rows, sc into sc row*, place your last sc into the base of the fsc at the end, ch 1, turn (39)
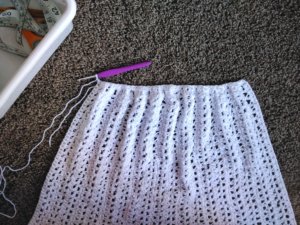
R2 (RS) sc in each st across, ch 1, turn (39)
R3 sc in 1st st, sc2tog, *sc in next 5 sts, sc2tog* 5 times, sc in last st, ch 1, turn (33)
R4 repeat R2, ch 1, turn (33)
R5 sc in 1st st, *sc2tog, sc in next 5 sts, sc2tog*, sc in each st until 10 sts remain, repeat from * to *, sc in last st, ch 1, turn (29)
R6 repeat R2, ch 1, turn (29)
R7-10 repeat R5-6, break yarn (21)
With the WS facing and the raw edge at the top, attach yarn with a sc in the corner st at the top right
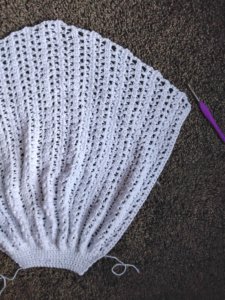
Repeat R1-10
ch 1, turn your work 90° so you’re now working on the long edge to the left
Establishing Your Handles and Building/Shaping the Border
R1 *10 sc (1 sc at the end of each sc row), sc 22, sc2tog (place marker in this st), sc3tog, sc2tog, sc 22, 10 sc (1 sc at the end of each sc row), LOOSELY ch 50, sk 21 sc (handle made)*, repeat from * to * once, join with a sl st to the 1st sc of the row, ch 1, do not turn
R2 *sc until 2 sts remain before the marker, sc2tog (replace marker in this st), sc3tog, sc2tog*, repeat from * to * once, sc to the end of the row, join, ch 1, do not turn
R3-8 repeat R2
Finish off and weave in ends!
Final Thoughts on The Everygirl Bag
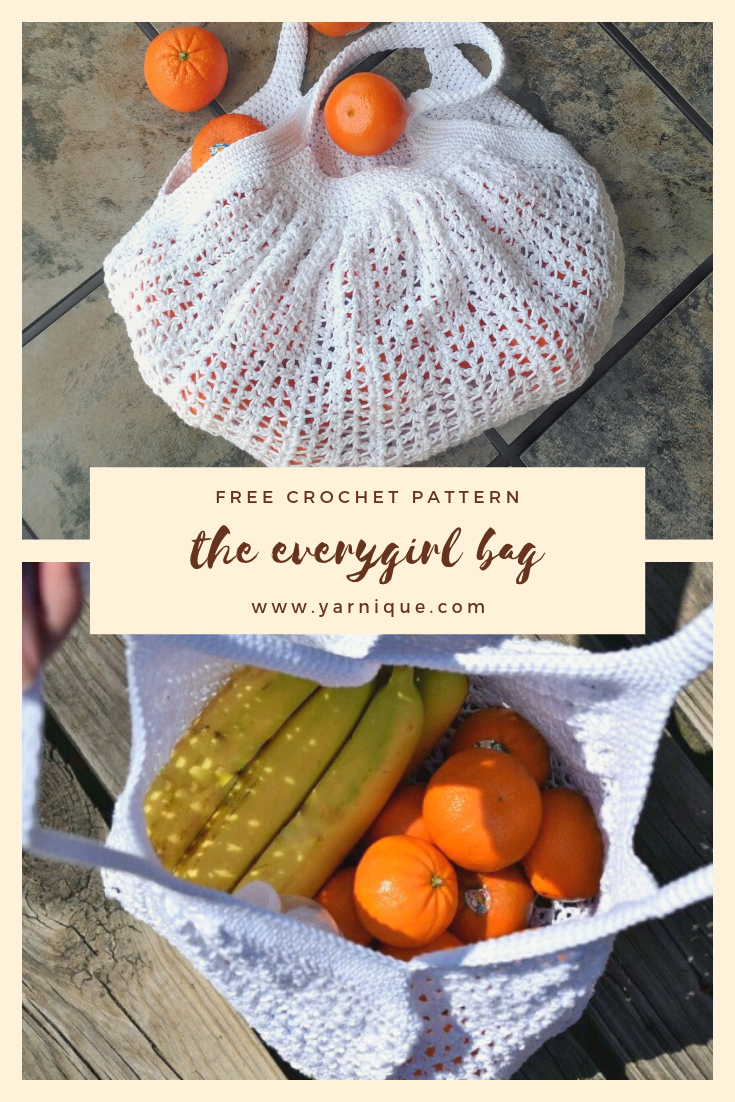
This market bag crochet pattern is the perfect bag to take to the farmer’s market or the grocery store to reduce the use of plastic bags.
Speaking of reducing, reusing, and recycling, check out How To Make Plarn And Crochet With It. Making plarn is a perfect way to make your own market bags and reusable shopping bags plus lots of other crochet projects.
Sharing is caring and a great way to support small businesses like mine at no additional cost! Bookmark this blog post or pin it to your favorite Pinterest board for later and to share with your friends.
Happy crocheting!
PLEASE READ: THIS PATTERN AND ITS CONTENTS ARE THE SOLE PROPERTY OF YARNIQUE (CHANTAL CAMPSEY) AND MAY NOT BE ALTERED, SOLD, OR REDISTRIBUTED IN ANY WAY WITHOUT PERMISSION FROM ITS AUTHOR. YOU MAY, HOWEVER, SELL AS MANY FINISHED PROJECTS AS YOU DESIRE, I JUST ASK THAT YOU REFERENCE MY BLOG AND/OR SHOPS FOR CREDIT FOR THE PATTERN.
Bloggers: I would love for you to feature my work in a roundup! You may use one photo and link directly to my blog for the free pattern. Send me an email at yarniqueblog@gmail.com with a link to your post so I can share it with my followers.
